
The Basics of Natural Ink Making – A Beginner’s Guide

The Basics of Natural Ink Making – A Beginner’s Guide
It’s been five years since I first dipped my toes into the world of natural ink making. Like any creative process, it’s had its fair share of challenges, but mostly, it’s been deeply fulfilling. There’s something about creating color straight from nature—watching the alchemy unfold—that continues to pull me in. If you’re curious about how I got started, you can read more about my journey in [this blog post].
In this guide, I’ll be breaking down some of the basics: techniques, recipes, safety tips, must-have ink-making tools, and a bit about foraging for color. If you're looking for a curated list of my favorite ink supplies, extracts, dye books, and resources, check out my Free Resource Guide for direct links to everything I personally use and recommend.
What Exactly is Natural Ink Making?
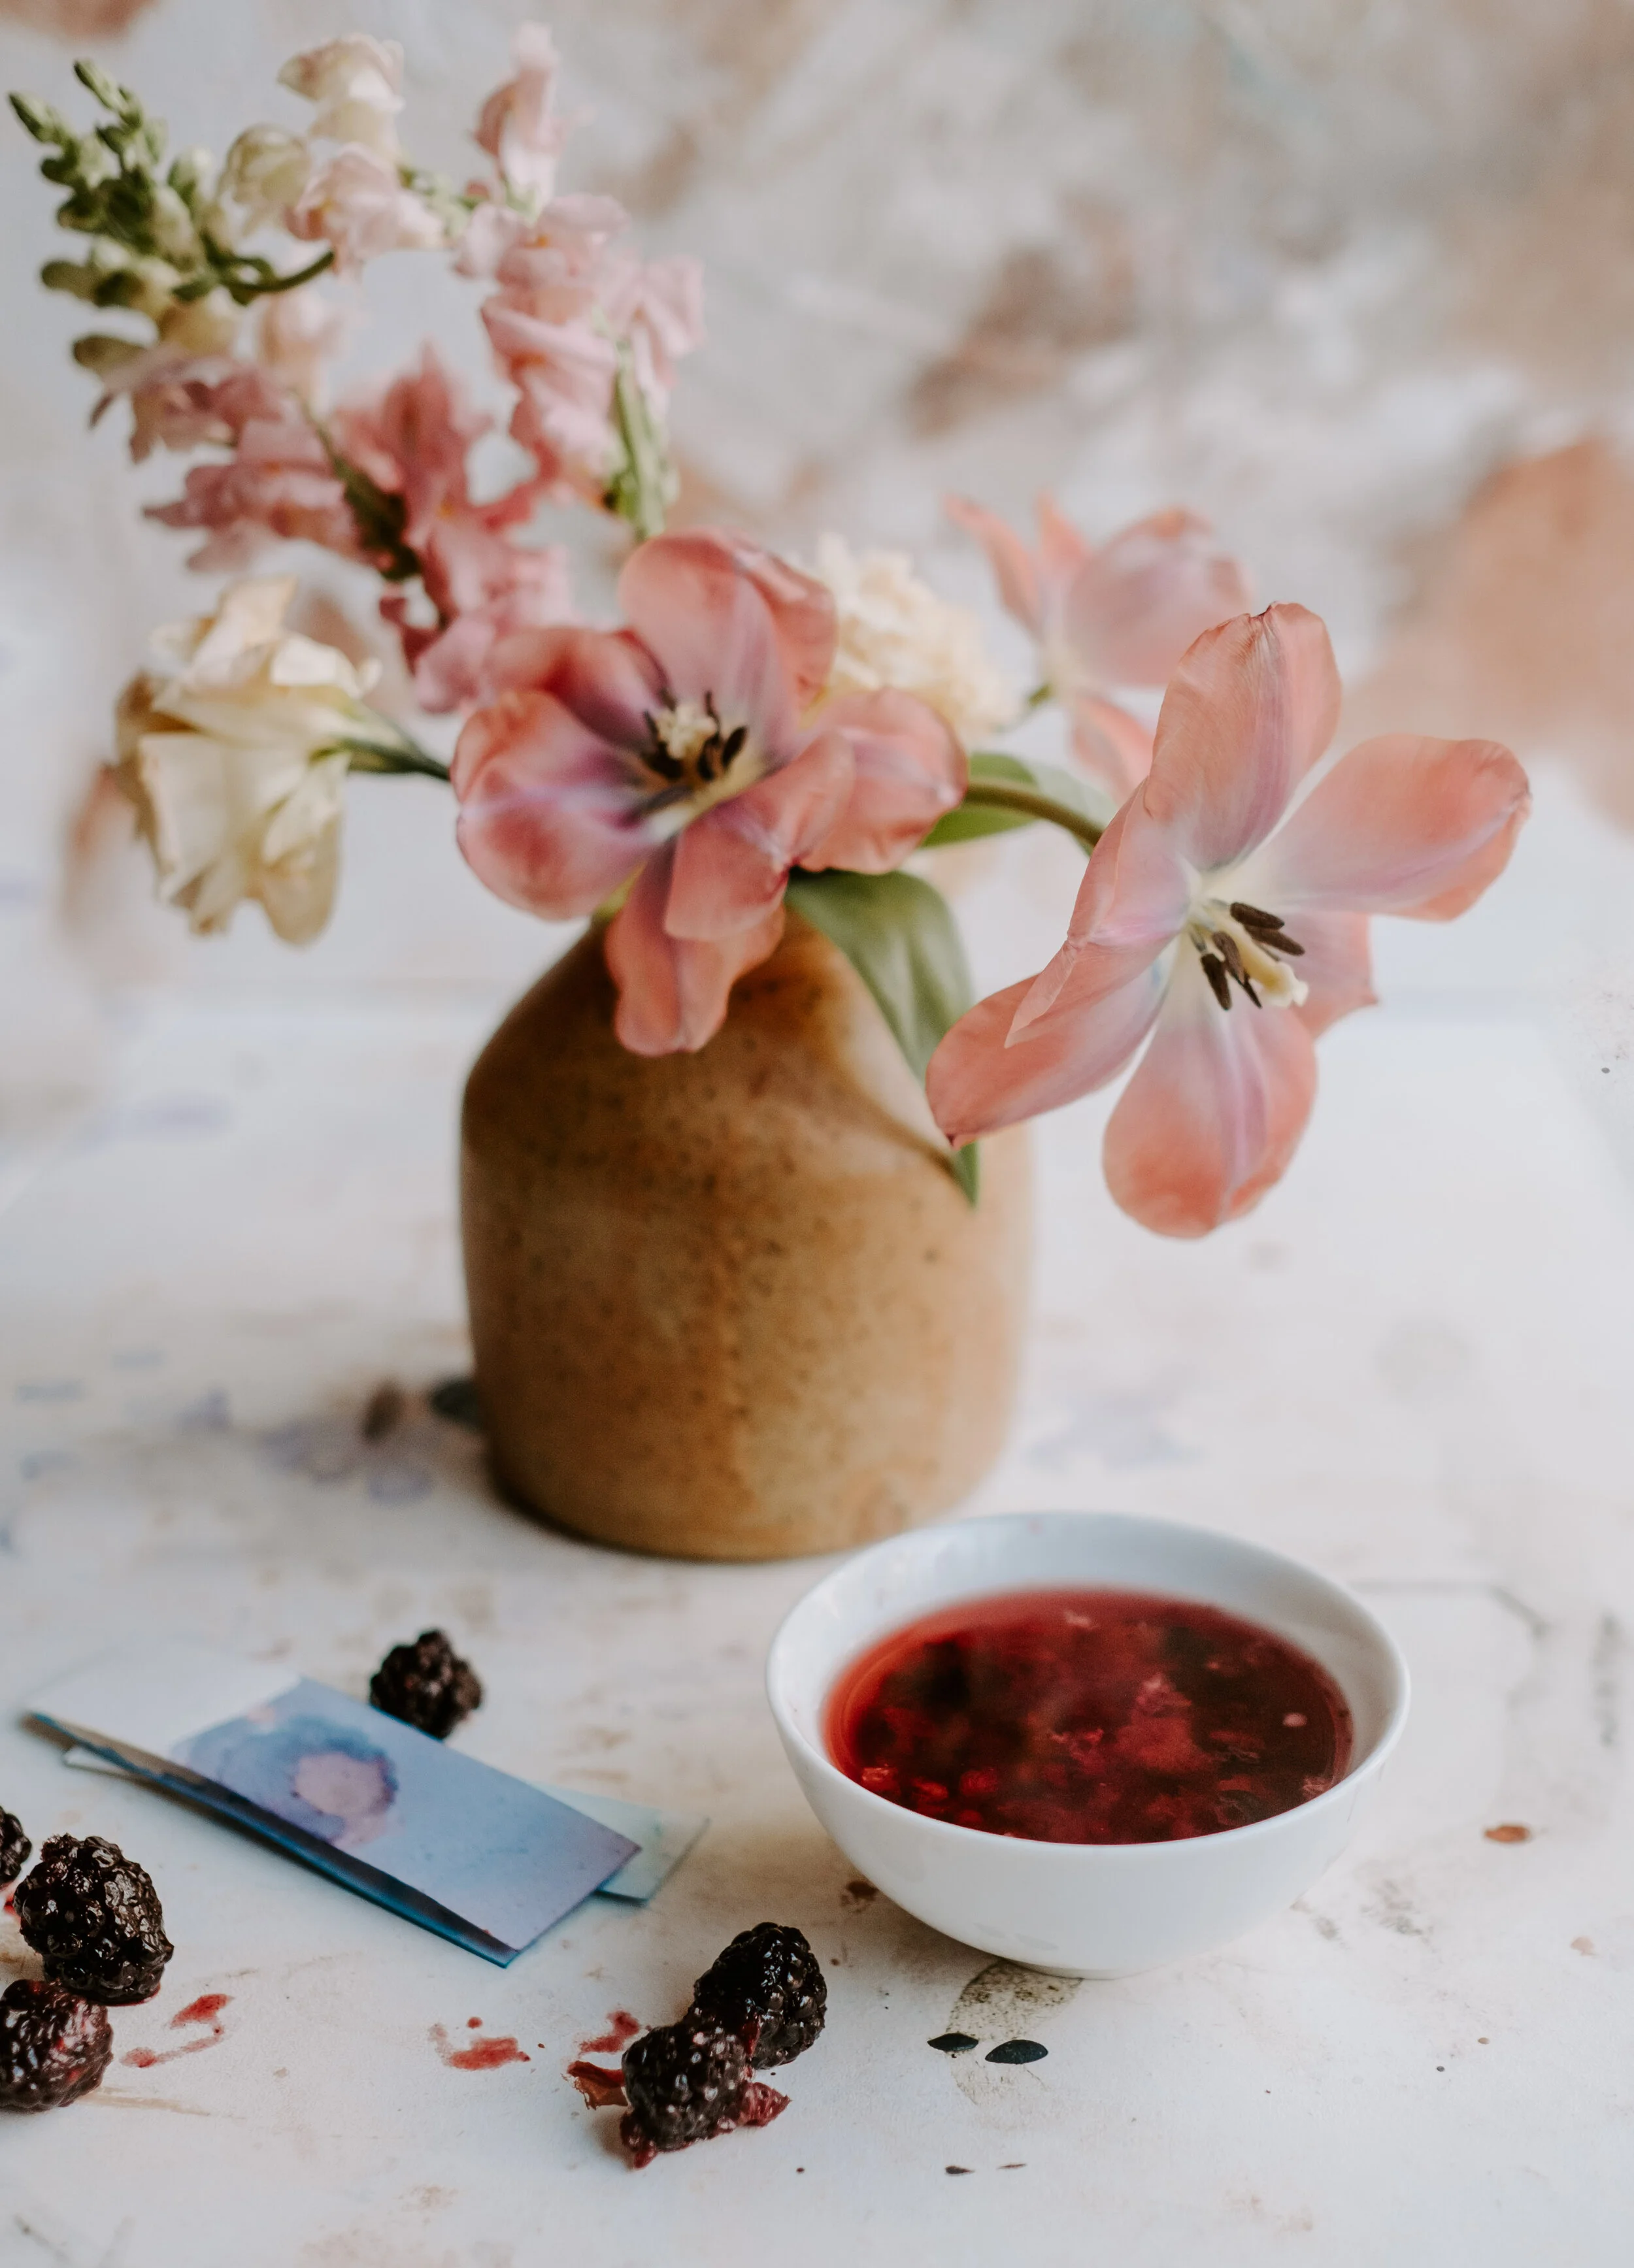
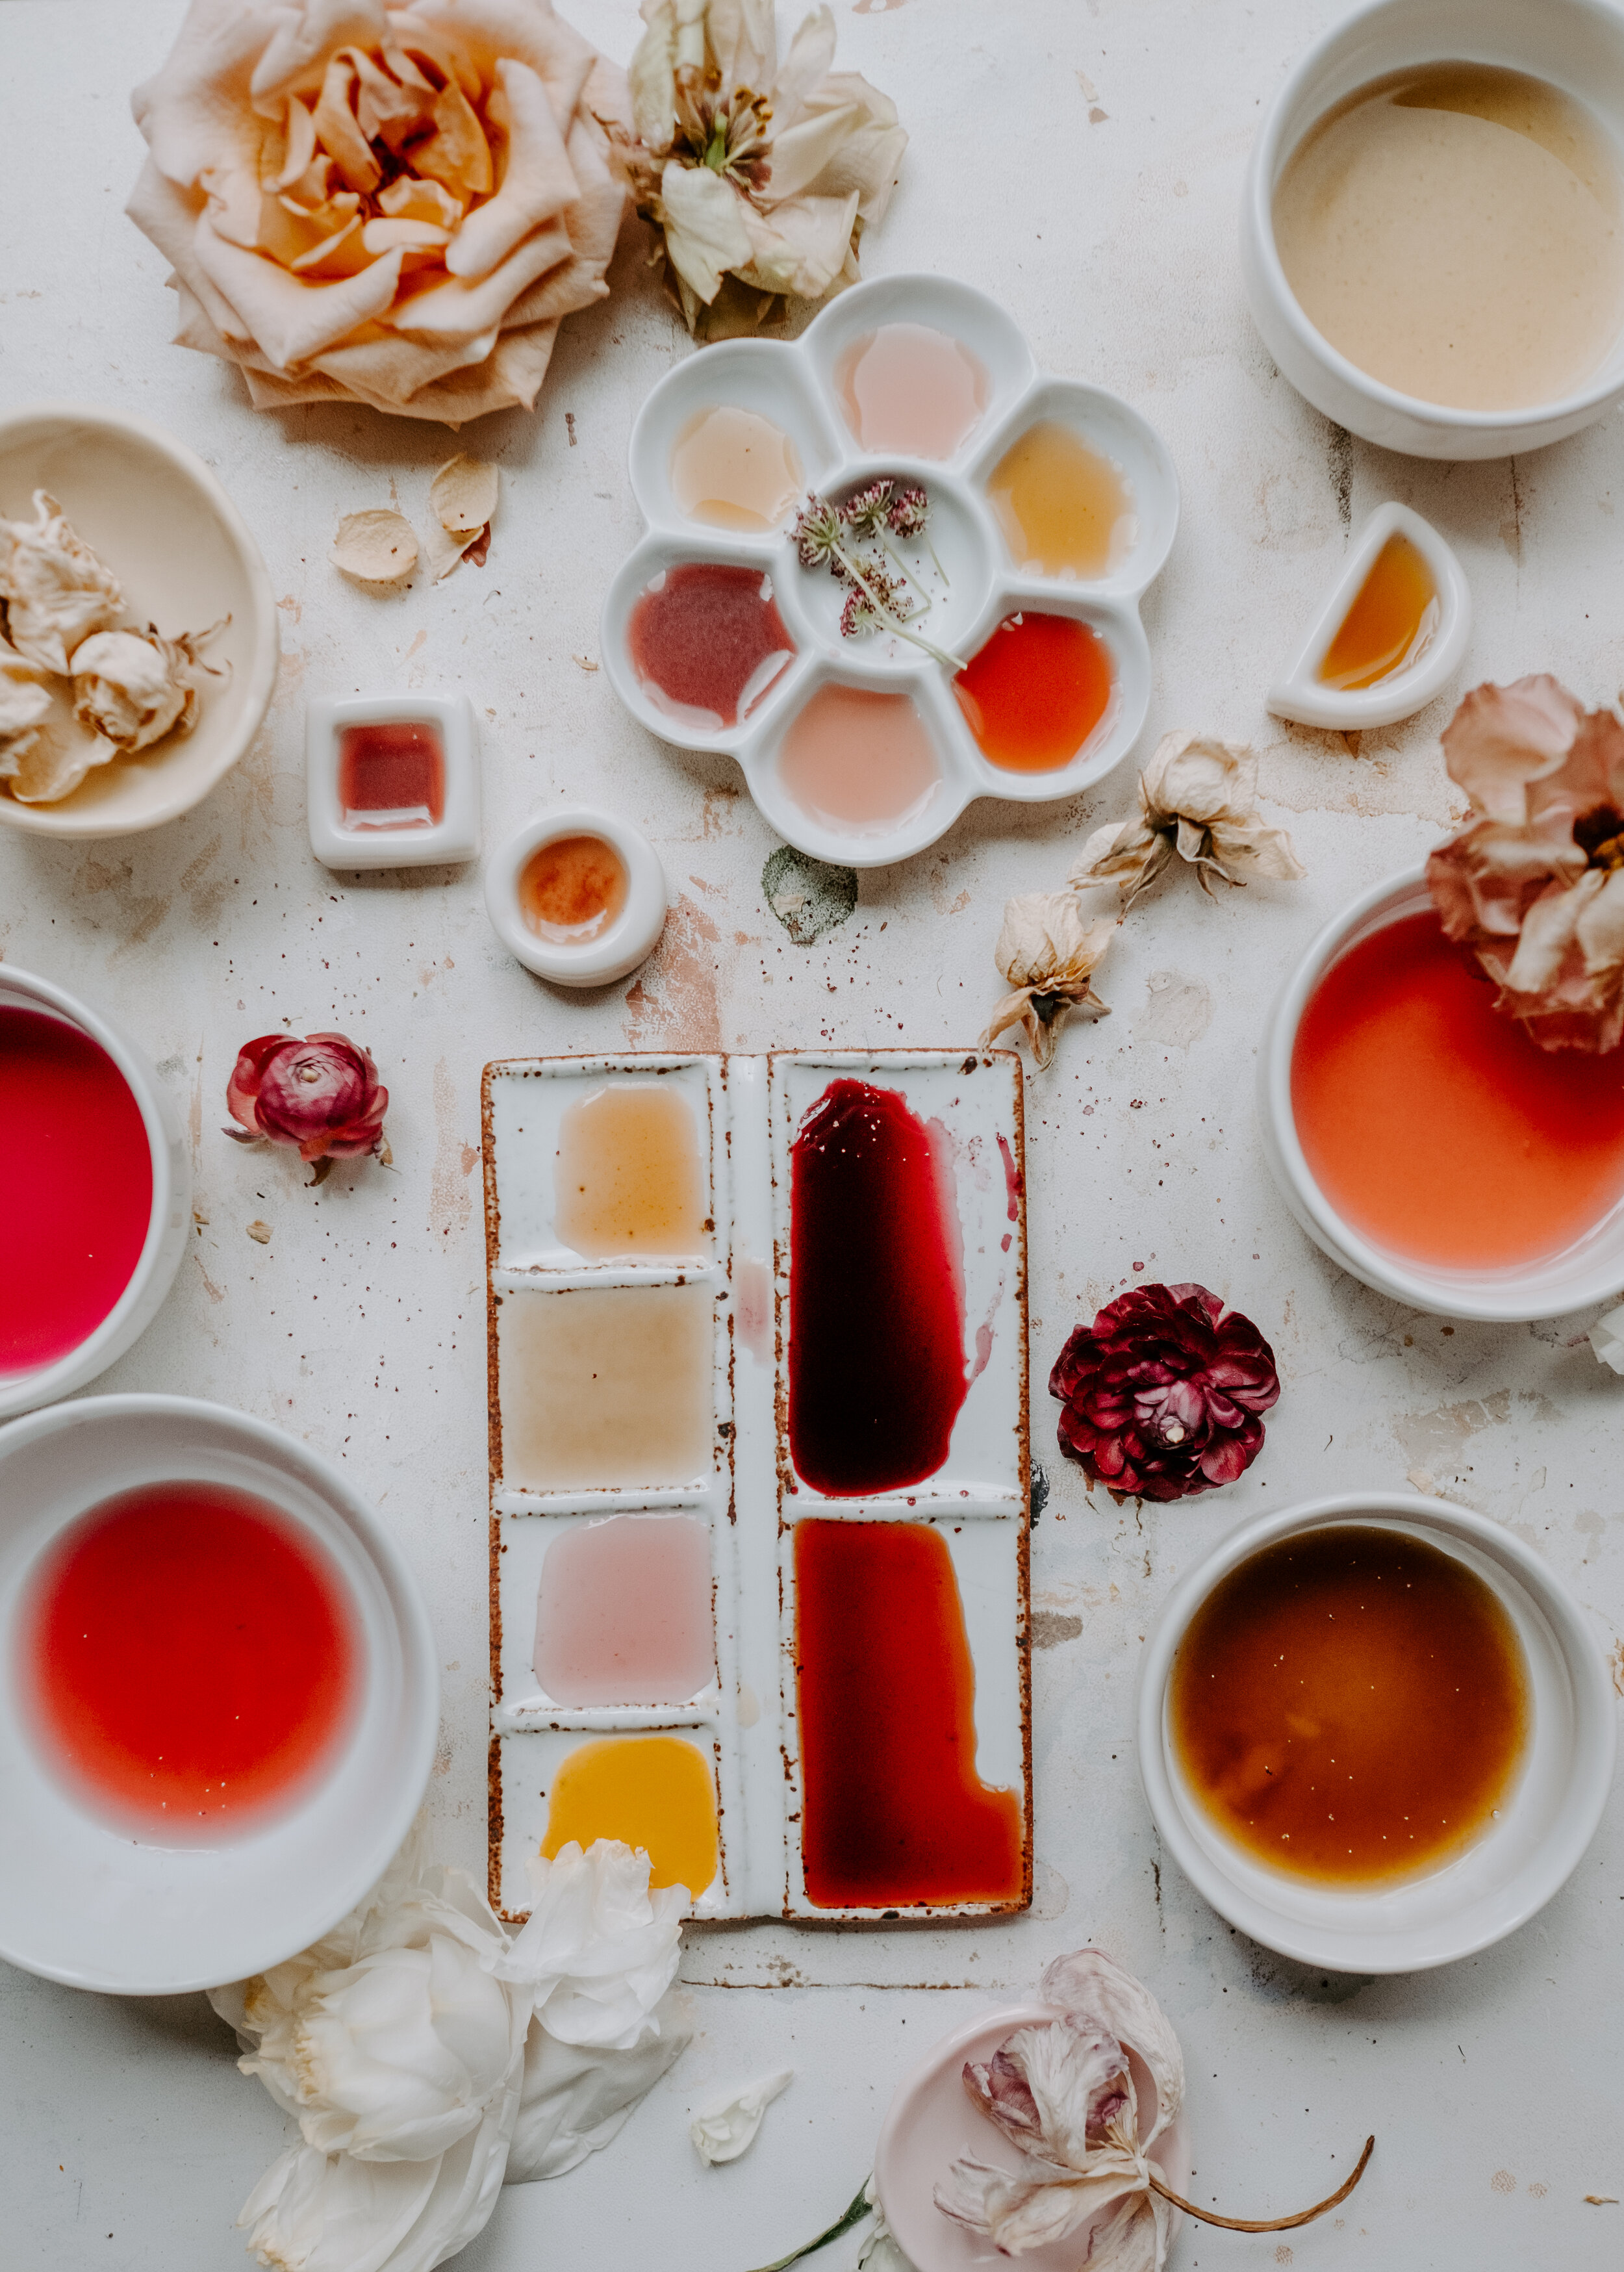
Natural ink making is the process of extracting pigments from organic materials—flowers, leaves, bark, berries, and even kitchen scraps—to create inks for painting, calligraphy, and other creative uses. Unlike synthetic inks, these colors are alive—they shift, fade, deepen, and transform over time. That’s part of what makes them so magical.
Elements of Natural Ink: The Simple Formula
At its core, natural ink is just a combination of three things:
Plant Material/Color + Water/Oil + Binder = Natural Ink
Plant Material/Color is suspended in water or oil, extracting pigment through heat, fermentation, or soaking.
A Binder holds the color together and improves flow, much like a natural glue.
Modifiers and preservatives can help shift or extend the life of your ink.
Now, let’s break those down a little further.
Choosing Your Plant Material
One of the most rewarding aspects of making natural ink is that the materials available to you are constantly changing with the seasons. You can forage wild plants, use scraps from your kitchen, or cultivate dye plants in your garden. The possibilities are endless.
A few of my favorite materials to experiment with:
Food Scraps & Herbs: Avocado pits/skins, onion peels, purple cabbage, black tea, hibiscus, turmeric, rosemary, mint, lavender, sage
Berries & Fruit: Blueberries, blackberries, elderberries, rosehips, wild grapes
Flowers & Leaves: Rose petals, marigolds, chamomile, cosmos, goldenrod, indigo
Roots, Bark & Nuts: Madder root, willow bark, oak galls, walnut husks
Some plants are naturally rich in tannins, which help create deep, long-lasting color. Others need a little coaxing—experimentation is key.
For a list of my go-to ink extracts and dyes, check out my Free Resource Guide!
Water, Oil & Other Vehicles for Ink
Once you’ve selected your plant material, you’ll need to extract its color into a vehicle—the liquid that suspends the pigment.
Water-based inks are the most common and easiest to make.
Oil-based inks are richer and used for specific applications like printmaking.
Alcohol-based extractions can create different shades and preserve color better.
🌡️ Heat Matters: Some plants release their color within minutes of simmering, while others (like bark and roots) require hours—or even days—of slow extraction.
Binders & Preservatives
A binder helps your ink adhere to paper and improves its consistency. The most common natural binder is gum arabic, the hardened sap of the acacia tree. Just a few drops can stabilize the ink and create a smoother application.
To extend the life of your ink and prevent mold growth, add a few drops of an antimicrobial essential oil like thyme oil or wintergreen oil. Refrigeration also helps.
Find my favorite gum arabic and ink-making supplies in the Free Resource Guide.
Step-by-Step: Basic Ink Making Recipe
Step 1: Gather & Prepare: Choose a plant, confirm its safety, and chop it into small pieces.
Step 2: Simmer & Extract: Place your plant material in a stainless steel pot with water (about 2:1 water-to-material ratio). Bring to a gentle boil, then simmer for 30-60 minutes.
Step 3: Test for Color: Every 10-15 minutes, dip a test strip of paper to see how the color is developing.
Step 4: Strain & Filter: Remove plant material using a fine mesh strainer or cheesecloth.
Step 5: Add Binder & Preservative: Stir in a few drops of gum arabic and wintergreen oil.
Step 6: Store Properly: Keep in a sterilized glass jar in a cool, dark place (or refrigerate for longevity).
✨ Pro Tip: Some materials (like berries) create stronger color with a splash of vinegar or salt added to the extraction process.
Safety & Best Practices
Always research plant toxicity before using any material for ink. Some plants can be irritating or unsafe.
Use separate tools for ink making (don’t use your cooking pots and spoons).
Work in a ventilated area when heating plant material to avoid inhaling fumes.
Creating with nature is beautiful, but safety comes first!
Final Thoughts
Natural ink making is an intuitive, ever-evolving process. The colors shift. The materials change with the seasons. No two batches are ever exactly alike—and that’s the magic of it.
If you’re looking for more direct links to supplies, ink extracts, and my go-to books on natural color, grab my Free Resource Guide—it’s packed with everything I use in my own ink-making practice.
And if you’re ready to dive deeper—learning how to shift colors, create archival-quality inks, and unlock even more from natural materials—keep an eye out for my Natural Ink Maker’s Guide, coming soon.
Until then, keep exploring, keep experimenting, and let nature surprise you.
More soon. Stay curious.